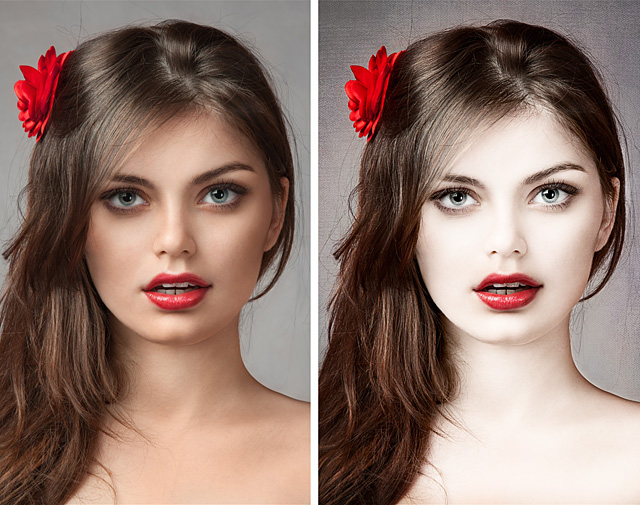
Creating this stunning porcelain skin effect is easier than you may
expect. I'll show you step by step how to achieve the effect in
Photoshop CS6 but this tutorial works in any version of CS.
But before we start, check these useful resources for photo manipulation that will help you create an amazing effect on your photo:
This tutorial uses a non-destructive method of photo editing. All
editing is done on adjustment layers leaving your original photo intact.
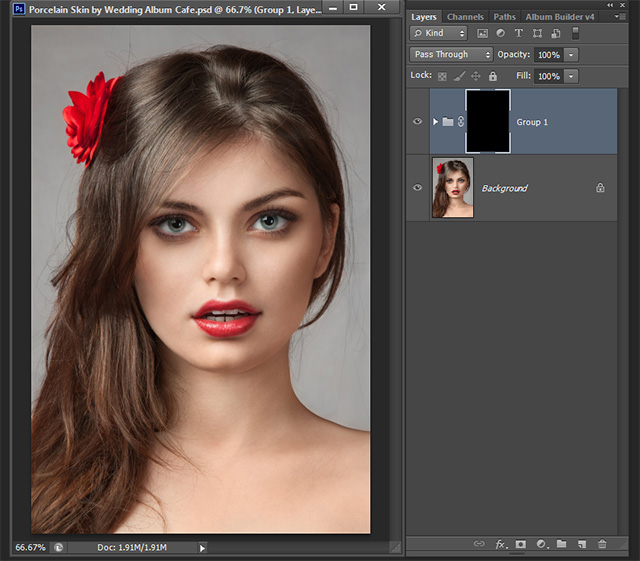
1. To begin open the photo you want to work with in Photoshop. We are
going to add an adjustment layer. On the bottom of your layers pallet
click the Adjustment Layer icon. From the options flyout choose Solid
Color.
1a. 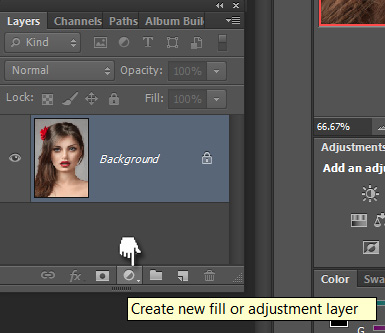
1b. 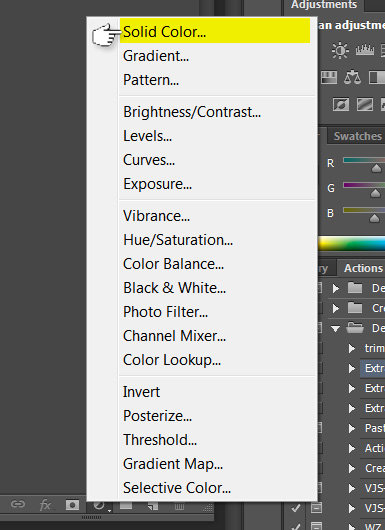
Set your solid color layer to pure white. Once the color picker
dialog box opens slide the color picker over to white or set the color
value in the dialog box.
1c. 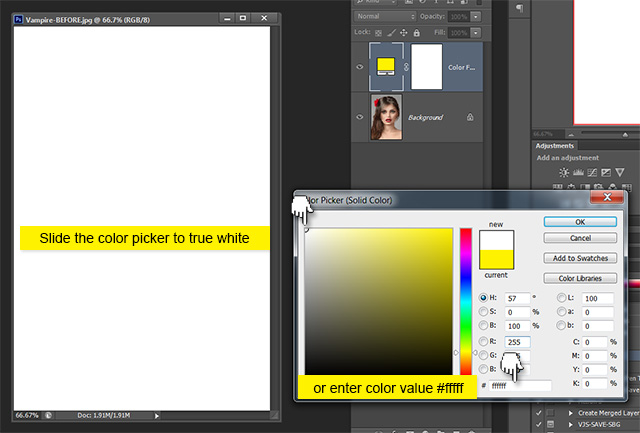
Once you click OK you will see that your adjustment mask has been added.
1.d 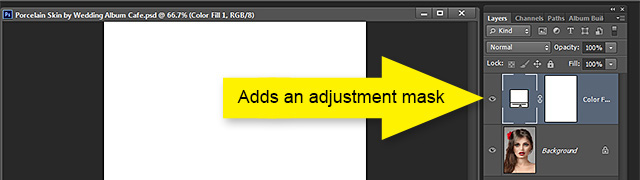
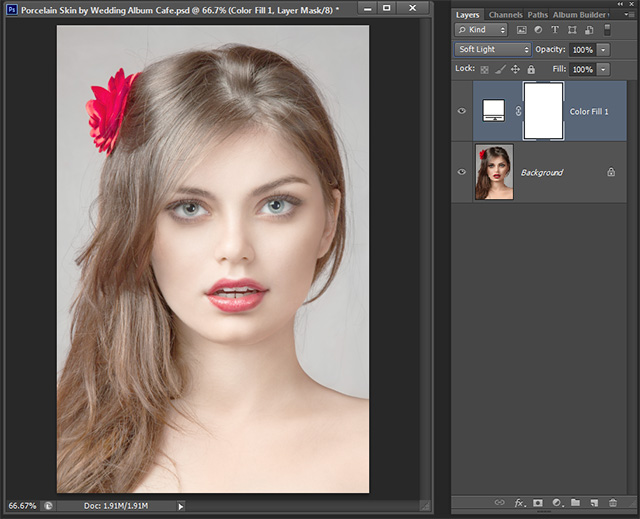
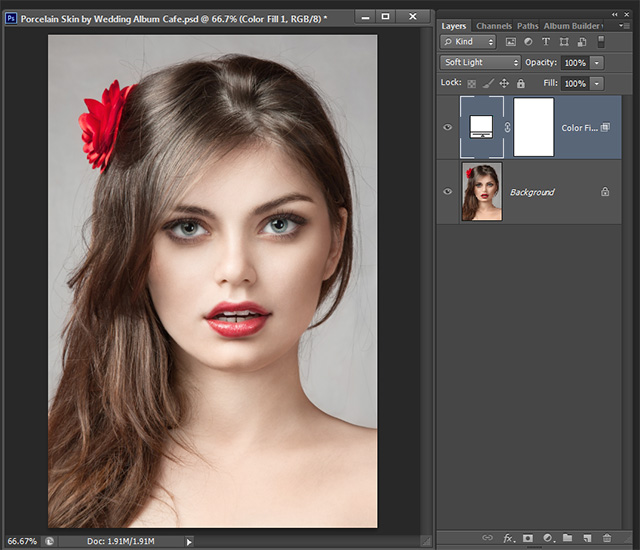
2.Now we are going to set our layer properties. On your layers
palette set your Color Fill layer's Blend Mode to Soft Light. You should
have something like this.
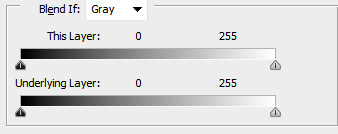
2b. Next double click on your Color Fill layer to open the Layer Style Dialog Box. Head down to the Blend If dialog area.
Note the current settings:
Holding down the ALT key click on the Right side of the marker for
the Underlying layer marker. Now begin to drag the split marker all the
way over to right. Value should read 0/255. Click OK
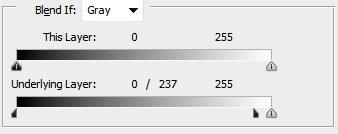
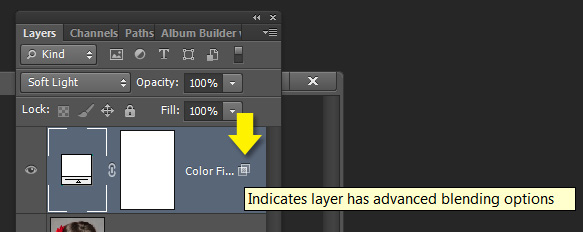
Notice the icon for the Color Fill layer has changed. This indicates advanced blending properties.
You should now have something that looks like this.
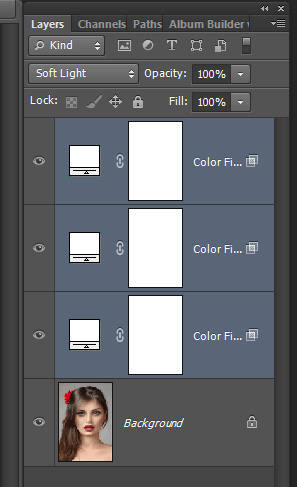
With your Color Fill layer activated Ctrl + J to Duplicate your Color
Fill Layer. Do this 3 to 5 times depending on the photo you chose and
the amount of effect you want to apply. For this photo I will duplicate
my layer 3 times. Once you've completed duplicating your layers select
ALL Color Fill Layers. With your Color Fill Layers selected use keyboard
command Ctrl + G to group all layers.
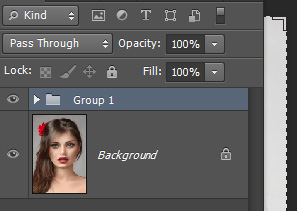
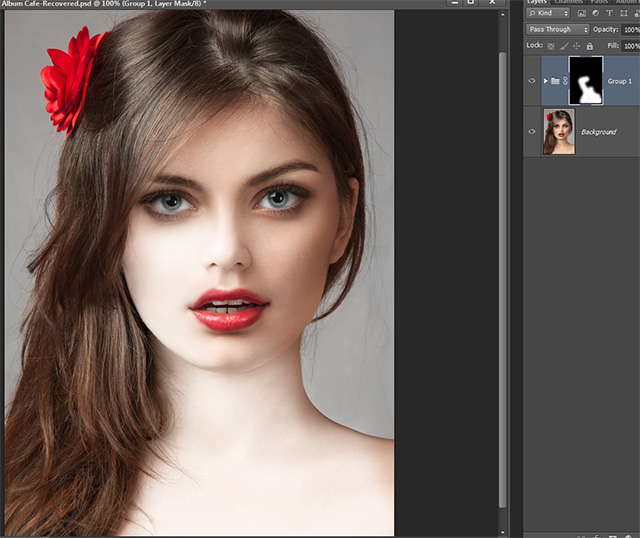
With your Group selected go down to the bottom of the layers palette
and click the third icon from the left to add a layer mask. With the
thumbnail icon selected Ctrl + I to invert your mask. This will make
your image appear to have returned to it's original state.
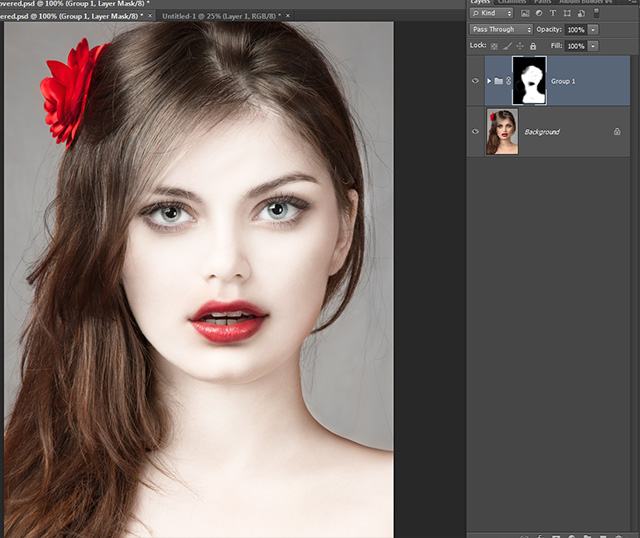
3. Now for the fun part! It's time to add our porcelain skin. Grab
your brush tool. Select a size that works well with the image you are
working on. You want your brush as large as possible to paint the larger
portions of skin and scale your brush down to size to continue painting
the more intricate areas. Your foreground color should be white and the
brush hardness should be set to 0.
You should begin with something like this
Continue paint until all skin areas are covered.
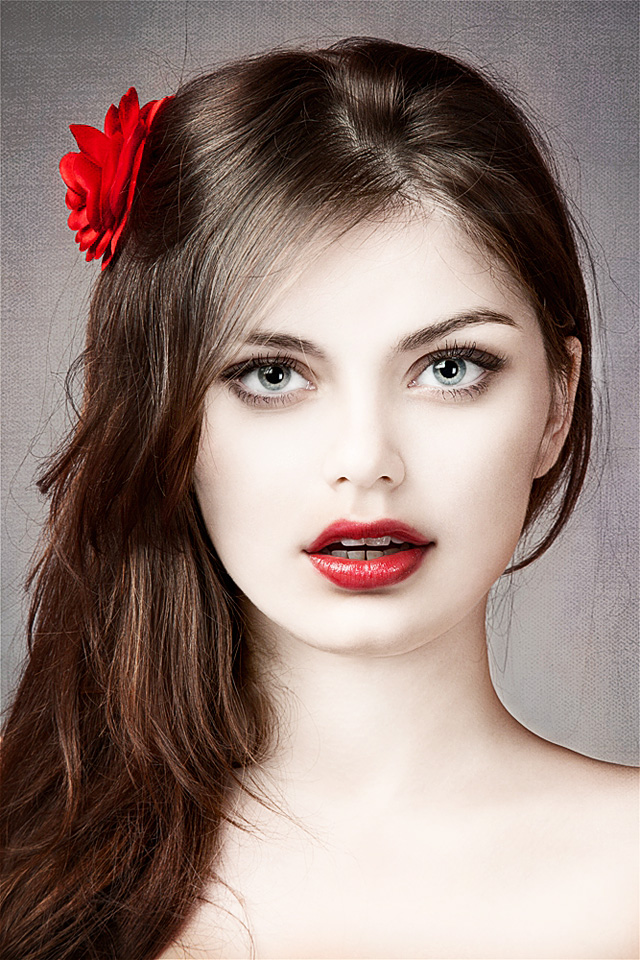
Make a few tweaks if you desire. Adjust layer opacity, add a curves
layer or a levels layer. Whatever you feel may enhance your overall
results. Here is my end result. I've added one of my Depth And Warmth Photographer Textures to the background as well as a curves adjustment.
No comments:
Post a Comment